Wax Seal Stamp Sizes: Choosing a Design That Fits
Understand stamp-head measurements, compare round and shaped designs, and use a paper mock-up to choose a wax seal that fits your envelope or gift tag.
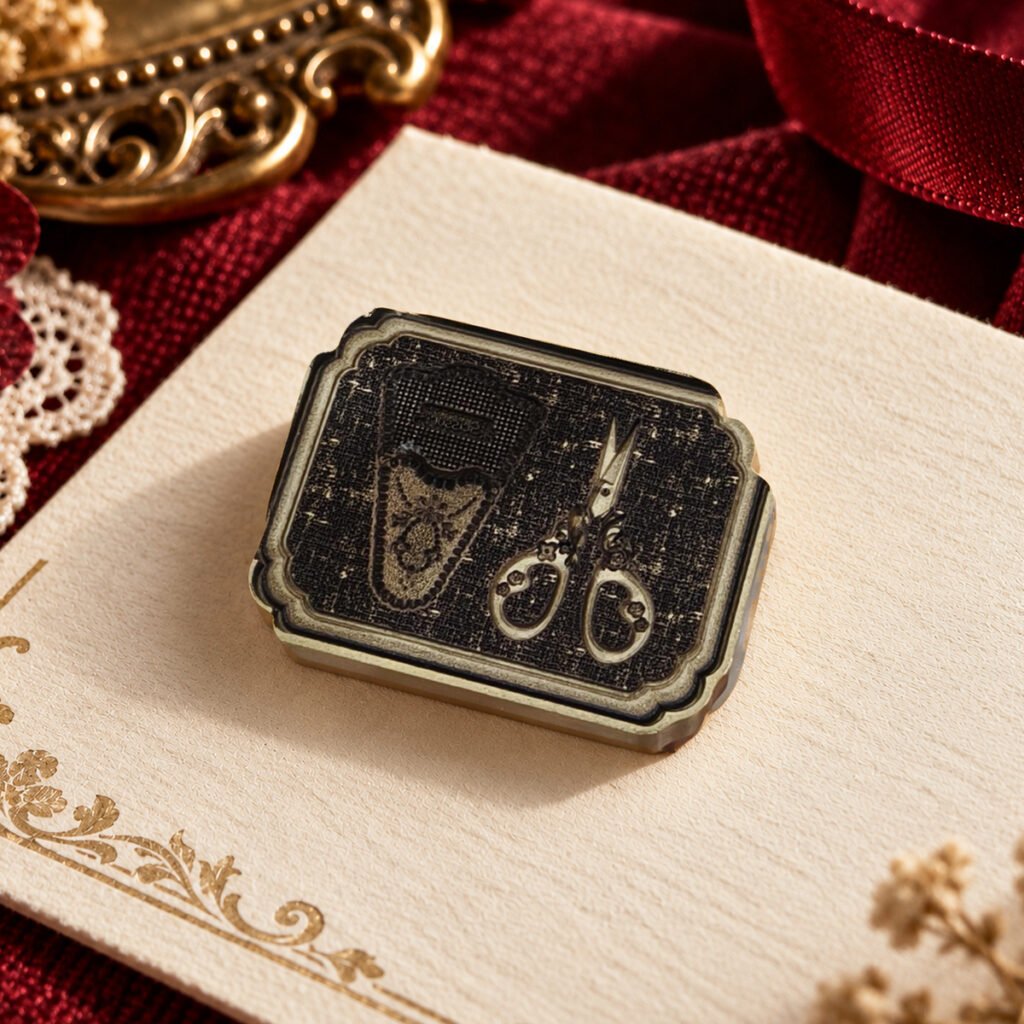
A wax seal stamp’s stated size usually describes the metal head, not the outer edge of the finished wax. The wax spreads beyond the head as you press, so the final footprint also depends on your pour and the border you prefer. Leave space around the listed measurement when planning a tag or envelope.
Read the dimensions in context
Cirevora’s Lace Gloves stamp has a round 25mm head. That is approximately 0.98 inches across. The Floral Scissors stamp is listed at 23 × 30mm, or approximately 0.91 × 1.18 inches. Its two dimensions describe a shaped head rather than a 30mm circle.
The conversion is useful if your stationery is measured in inches: divide millimeters by 25.4. Keep the original metric dimensions beside the rounded conversion when measuring a tight space. Neither set of numbers predicts the exact edge of every finished seal.
Make a paper mock-up
- Measure the usable area of your envelope flap, belly band, or tag.
- Cut a paper circle or approximate outline at the head’s listed dimensions.
- Place it where you want the seal and rotate it to the intended orientation.
- Allow extra space around that outline for a wax border.
- Check the arrangement with the recipient’s name, ribbon, and any fold already in place.
This is a planning exercise, not a promise about the finished shape. Once you have the stamp, make a trial with your actual wax. Measure that result and use it as the reference for the rest of the project.
Match the shape to the composition
A round head is easy to position around a central point. A taller or wider motif creates a stronger direction: it may look balanced along a vertical tag but crowded across a narrow band. Judge both dimensions, not only the larger number in the product title.
Also consider the space you want to leave empty. A seal does not need to fill an entire tag. A small amount of visible paper can separate the impression from handwriting and make the whole arrangement easier to read. For a printed invitation, place your mock-up on a real-size printout rather than comparing it with a zoomed screen.
Head size is different from border style
A generous, irregular border and a close, restrained border can come from the same stamp. More wax is not automatically a better result: it changes the outline, thickness, and amount of space the seal occupies. Start with complete design coverage, then adjust the edge as a separate design decision.
Likewise, a colored product image may make individual details stand out more than they do in a plain wax impression. Choose your size from the measurements and the unambiguous design shape, rather than assuming the photograph is life-size.
Plan for how the piece will be used
On a hand-delivered gift tag, the main questions are placement and appearance. Inside a journal, the raised seal also adds bulk between pages. On mailed stationery, the complete envelope has to be assessed for thickness and handling. Increasing the head size is not the only way to make a design feel more noticeable.
If you are ordering several designs for one coordinated set, make a mock-up for each. Two heads with similar maximum measurements can occupy quite different shapes. Keep the wax color, paper, and border treatment consistent if you want the collection to feel related.
Before ordering
Record three things: the available space, the head dimensions, and the shape you prefer. Then check the listing’s configuration separately so you know whether a handle is included. Size answers where the stamp will fit; configuration answers which tools you will receive.
Editorial note: Product images are Cirevora catalog illustrations, not photographs of a tested tutorial. Decorative coloring and styled backgrounds may be used; refer to the linked product listing for included items and photo details.