Why Is My Wax Seal Sticking to the Stamp?
Troubleshoot a sticking wax seal by checking cooling, stamp temperature, and residue in a simple sequence instead of changing every part of your process.
If wax clings to your stamp, first give the seal more time to cool and avoid pulling harder. Then check whether the head has become warm during repeated use. These are useful starting points, but the right release conditions still depend on the wax and the tools you are using.
Start with the pattern of the problem
One failed impression is different from a whole batch. Ask when the sticking begins: on the first seal, after several good ones, or only after changing wax. That short history helps you decide what to test next without replacing supplies unnecessarily.
Artisaire’s troubleshooting guidance recommends cooling the stamp between uses to reduce sticking. Treat this as a general process clue, not proof that every wax behaves identically. Follow the instructions for your own wax and equipment when deciding how to cool the head.
Use a one-variable test
- Pause the batch. Put the valuable stationery aside and return to a practice piece.
- Inspect the cool head. Look for loose fibers or leftover wax without scraping the engraving.
- Keep the materials constant. Use the same wax and practice surface so the next result is comparable.
- Allow a longer set. Test whether an unhurried release solves the problem.
- Let the head return to a cool working condition. If your supplier recommends a cooling pack, keep the engraving clean and dry before the next impression.
- Check the next few seals. A solution should remain workable beyond one lucky result.
Do not pour wax over damp tools. If cooling leaves moisture on the metal, dry it before use. Keep hot tools on a suitable surface, and do not touch the metal face to judge its temperature immediately after contact with hot wax.
If the first seal works but later ones stick
That pattern makes the pace of work worth examining. Add a cooling break between small groups. Have the next envelope prepared before heating more wax, so you do not feel pressured to pull an impression early just to keep production moving.
Write down what changed. A note such as “same wax, fewer seals per group, longer rest” is more useful than a universal timer copied from a different material. It gives you a repeatable routine for the setup on your own desk.
If the wax is lodged in the engraving
Let everything cool before inspecting it. Avoid needles, knives, or abrasive pads that can damage a fine design. Do not introduce solvents or heat the stamp over a flame unless the maker specifically approves that method for your exact tool.
If gentle care does not resolve the residue, ask the stamp supplier for advice and include a clear photograph. Describe the wax brand or type, the heating method, and when the problem started. Those details are more useful than trying increasingly aggressive cleaning methods.
Separate sticking from other faults
A seal with an incomplete edge may need better coverage or centering. A tilted impression may reflect uneven placement. A faint motif does not automatically mean the stamp is sticking. Identify the visible problem before changing pressure, wax quantity, or timing.
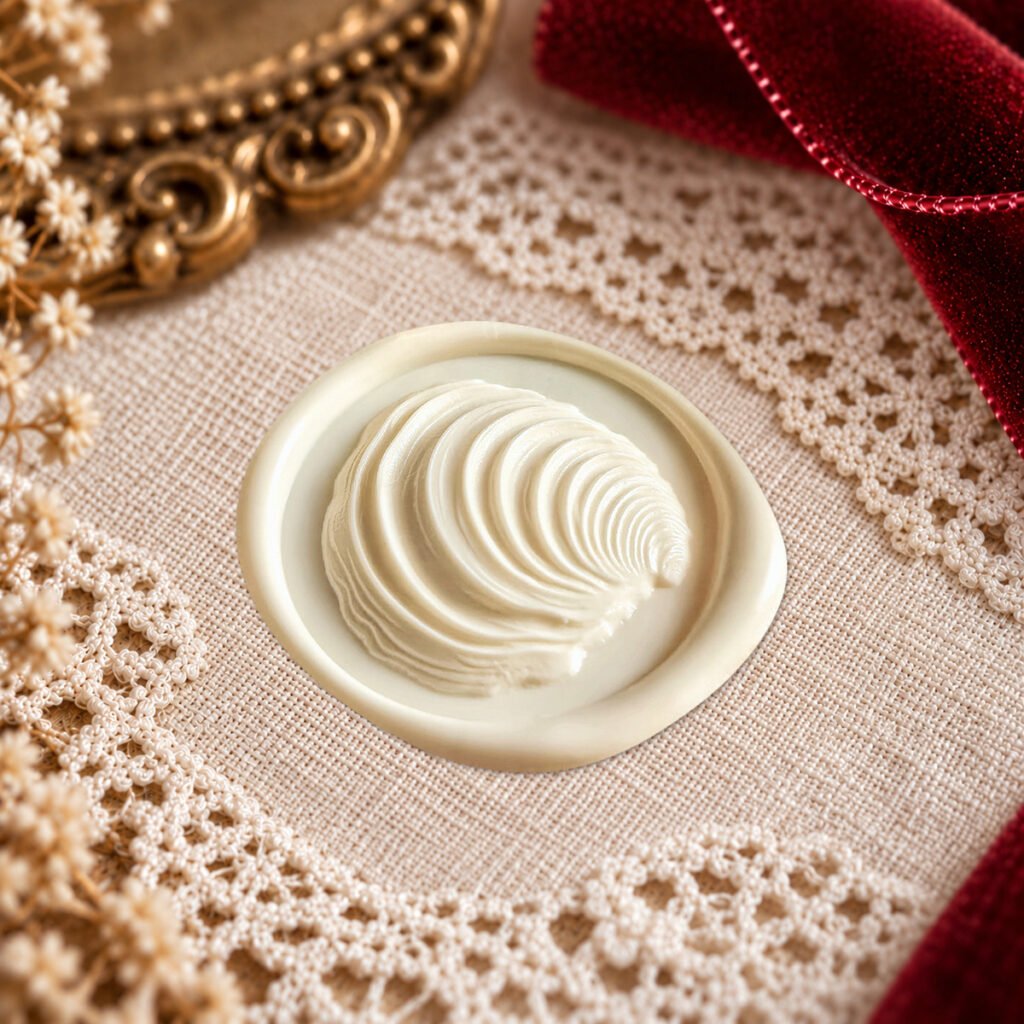
On a textured motif such as the Vintage Clam Shell, compare the grooves and outer edge separately. The goal is a clean release with a legible design, not an identical border on every pour. A handmade wax edge can vary while the underlying impression remains clear.
When to stop and ask
Stop if the handle is loose, the tool appears damaged, or the wax behaves very differently from its instructions. Keep the unsuccessful sample and a photograph of the setup. A small practice session is preferable to sacrificing an entire set of finished invitations.
Editorial note: Product images are Cirevora catalog illustrations, not photographs of a tested tutorial. Decorative coloring and styled backgrounds may be used; refer to the linked product listing for included items and photo details.