How to Use a Wax Seal Stamp: A Beginner’s Guide
Make your first wax seal with a simple preparation checklist, a clear stamping sequence, and practical ways to judge the result before using your best stationery.
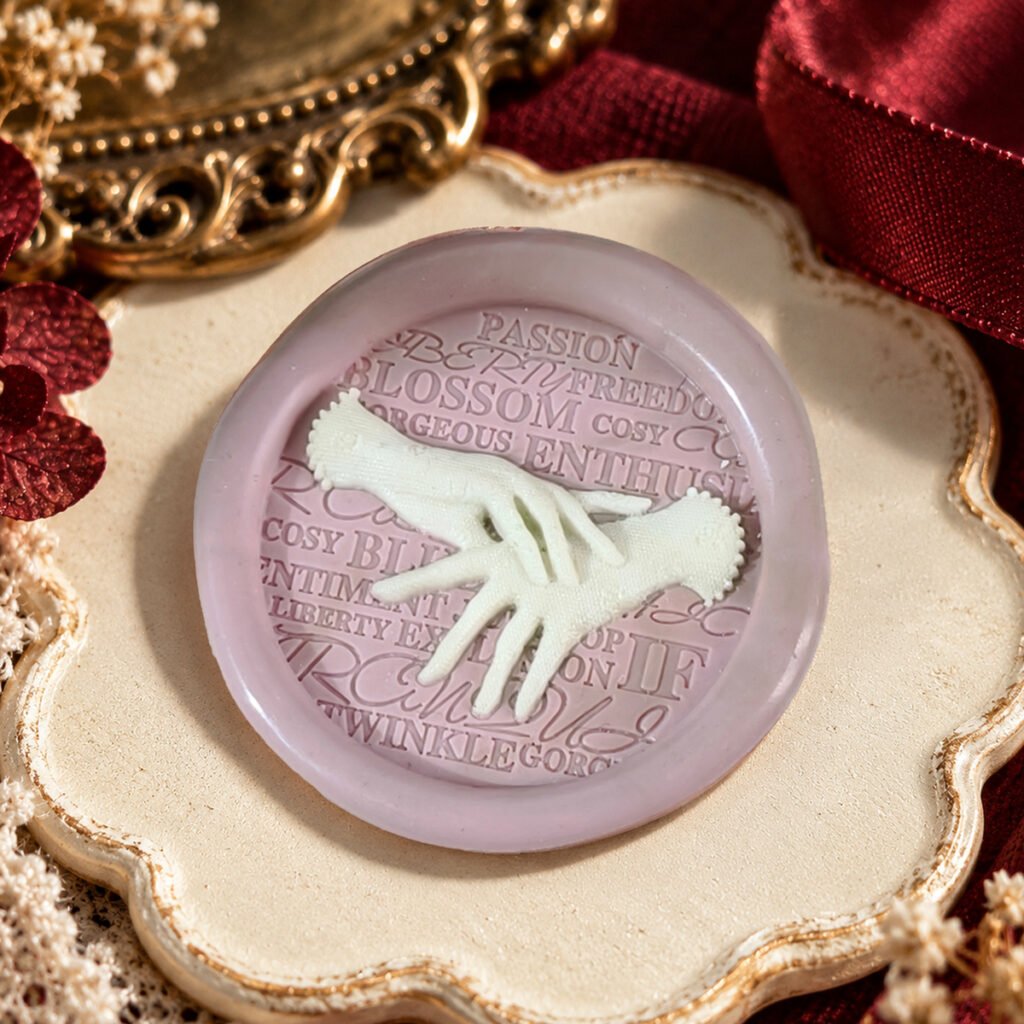
A wax seal starts with a small pool of sealing wax, an engraved stamp, and enough cooling time for the impression to hold. Begin on a spare piece of the paper you plan to use. Your first goal is a complete, readable design; a perfectly circular border can come later.
Gather the right pieces
- An engraved wax seal stamp with a compatible handle.
- Sealing wax and the melting equipment recommended for that particular wax.
- A stable, heat-resistant work surface and a safe place to rest hot tools.
- Scrap paper or a purpose-made release surface for practice.
- Your envelope or tag, kept away from the heat source until needed.
Check what your order includes. For example, the Lace Gloves stamp is available as a metal head only or a head with one wooden handle. Wax, finished seals, envelopes, and coloring supplies are separate. Choosing the handle option does not turn the stamp into a complete wax-sealing kit.
Make one practice seal
- Plan the position. Place the unheated stamp beside the intended spot to judge the space. Identify which way the motif should face before pouring.
- Prepare the wax. Follow its supplier’s instructions for the correct tool and heating method. Keep paper, sleeves, and loose decorations away from the heat.
- Pour a controlled pool. Aim for enough coverage beneath the head and room for a border. Work on a level surface so the pool does not run downhill.
- Lower the stamp evenly. Hold the handle upright and settle the head into the wax without rocking or twisting.
- Let the impression set. Do not force the stamp away while the wax is still holding it. Cooling depends on the wax, room, and temperature of the stamp.
- Lift and inspect. Look at the complete motif and the edges before making the next seal.
Wax supplier LetterSeals describes the same basic sequence: apply melted wax, make the impression, and allow it to set. Its instructions differ by wax format, which is why a single melting or cooling time is not a reliable rule for every product.
Read the result before changing anything
An incomplete edge suggests you should check coverage and centering. A design that looks smeared calls for checking movement and release timing. If the first seal is clear but later ones cling to the head, take a break and let the stamp cool. Change one variable at a time so your next attempt tells you something useful.
Keep one successful sample beside the work area. It is an easier reference than trying to remember the size of the last pour. Use the same wax, paper, and stamp while learning; changing all three at once makes comparison difficult.
Move from practice to stationery
Test an offcut of the actual envelope or tag material. Paper coatings and textures differ, and a practice seal on a release mat does not establish how wax will attach to your stationery. For a folded envelope, also check that the recipient can open it without damaging the part you want them to keep.
Start with a single-color impression. Multicolored examples in the Lace Gloves gallery use additional decorative coloring; the stamp alone does not produce those contrasting colors in one pour. Once your impression is consistent, you can decide whether you prefer the plain relief or a separately applied finish.
Before you make a batch
Count your finished pieces, reserve some materials for practice, and clear a cooling area. Work in small groups instead of rushing through every envelope at once. If the pieces will travel by post, have a completed sample checked before preparing the rest. An attractive seal and a suitable mailing package are two separate decisions.
Choose a motif you will enjoy repeating from the wax seal stamp collection. Keep your first project small: a few thank-you notes are a useful way to learn your materials without turning the evening into a production deadline.
Editorial note: Product images are Cirevora catalog illustrations, not photographs of a tested tutorial. Decorative coloring and styled backgrounds may be used; refer to the linked product listing for included items and photo details.