Wax Seal Stamps vs. Ink Stamps for Journaling
Compare wax seals and ink impressions by page bulk, preparation, and placement, then choose a journaling method that suits how you use and store your notebook.
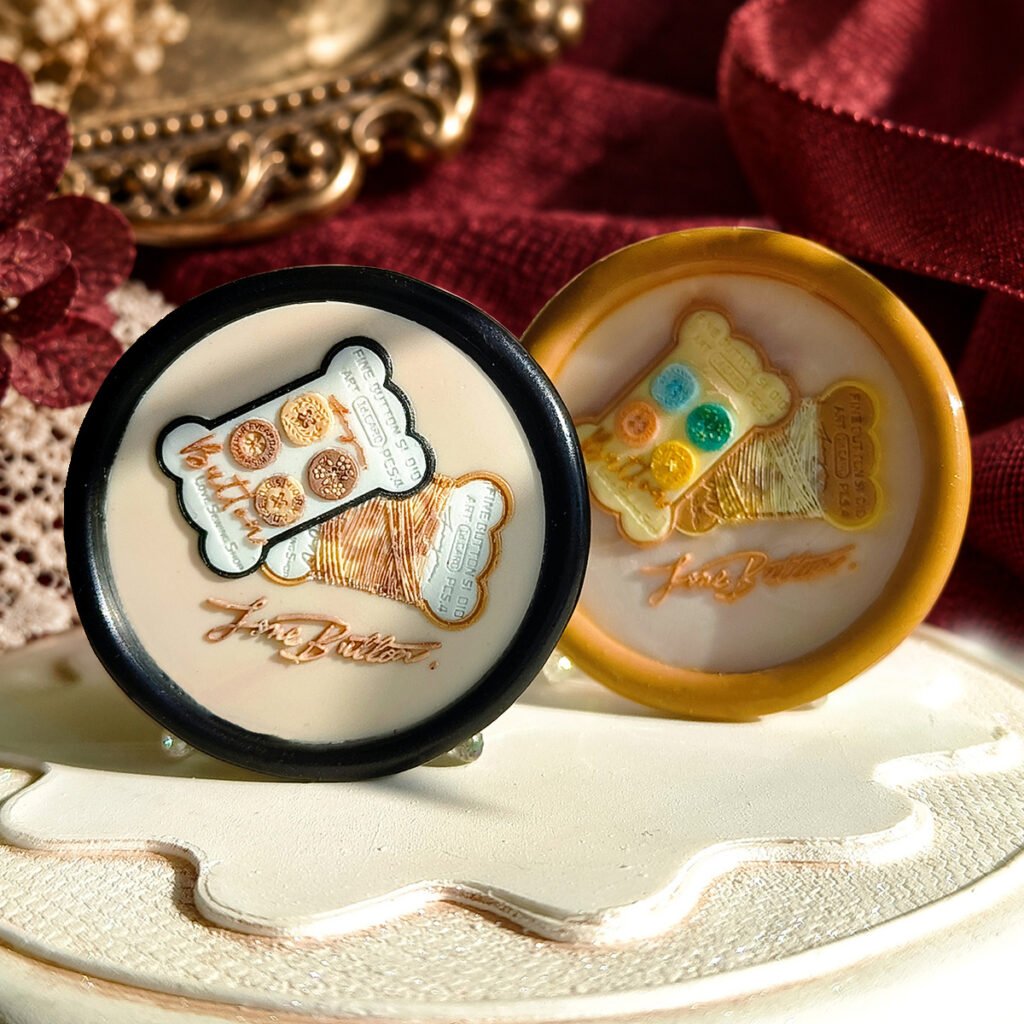
Choose an ink stamp when you want a mostly flat impression within a journal spread. Choose a wax seal when you want a raised decorative feature and can allow for its thickness. Neither is automatically better: the useful distinction is how the finished page needs to behave.
Think about the closed notebook
A page can look balanced while open but become awkward when the journal is closed. A raised seal occupies space between sheets and may press against the opposite page. Try the intended arrangement on a removable card first, then place it in the notebook to assess the bulk.
An ink impression adds color without a separate wax ornament, although layered papers and other decorations can still make a spread thick. Choose the whole page structure before deciding how many decorative elements to add.
Compare the workflow
A conventional ink-stamping setup uses an appropriate stamp, ink, and paper. The result depends on their compatibility, including whether ink dries cleanly or shows through the page. Test an inconspicuous sample instead of assuming that one ink works on every coated or thin sheet.
A wax-sealing setup needs sealing wax, an engraved head with a compatible handle, and the recommended heating equipment. It also needs room for safe preparation and cooling. This may suit a dedicated creative session better than a quick note written while traveling.
Use wax where the dimension has a purpose
- A removable journal card: keep the decorated piece separate from everyday writing pages.
- A pocket insert: place the seal on a card sized to leave room inside the pocket.
- A special section divider: check the closed notebook before committing to a raised feature.
- A cover-side gift tag: decorate the journal as a present without permanently altering the cover.
These are layout ideas rather than claims that every notebook, adhesive, or cover can accept wax. Avoid applying heat to an unknown cover finish or valuable original document. A separate, replaceable paper component gives you more room to experiment.
Choose a motif that connects to the page
A Vintage Button Shop stamp can support a sewing-project journal, a fabric-swatch record, or a gift note for a maker. The design supplies the visual theme; use ordinary writing for details such as fabric source, measurements, or the next adjustment to a pattern.
If the notebook is mainly functional, one decorated opening page may be enough. Repeating a raised seal on every spread can add more thickness than you intended. Consider repeating a color or a handwritten heading elsewhere to keep the theme coherent.
Can a wax seal stamp replace an ink stamp?
Do not assume so. A wax seal head is designed to create a relief impression in wax. That does not establish that its engraved surface will transfer an inked image like a purpose-made rubber or clear stamp. Select the tool intended for the effect you want.
Similarly, a motif shown as a colored wax impression is not evidence of a printed or ink-stamped result. The product photographs show one kind of finish. Additional coloring of raised wax details is a separate decorating step.
A useful decision sequence
- Decide whether the page must remain flat and easy to write on.
- Choose a permanent page element or a removable insert.
- Test the actual paper with the intended medium.
- Close the notebook and check how the addition sits.
- Repeat the technique only if it suits the way you use the journal.
If texture is part of the appeal, explore the wax seal stamp collection for a motif that fits your subject. If fast, flat marks are the priority, use an ink-stamping setup appropriate to your paper. It is entirely reasonable to use both techniques in different parts of the same project.
Editorial note: Product images are Cirevora catalog illustrations, not photographs of a tested tutorial. Decorative coloring and styled backgrounds may be used; refer to the linked product listing for included items and photo details.