Wax Seals for Wedding Invitations: A Planning Guide
Plan wedding invitation wax seals from one complete sample: choose placement, count envelopes, test materials, and organize a manageable assembly routine.
Start wedding invitation wax seals with one complete invitation suite, not a bulk supply order. Choose the seal’s position, make a sample using the final materials, and check how the assembled package will travel. That sequence keeps decorative decisions connected to the practical work of sending the invitations.
Choose one main role for the seal
A wax seal can close an inner envelope, finish a belly band, or decorate a separate keepsake card. Pick the role before choosing a motif. Trying to make one seal secure every layer can create an awkward package to assemble and open.
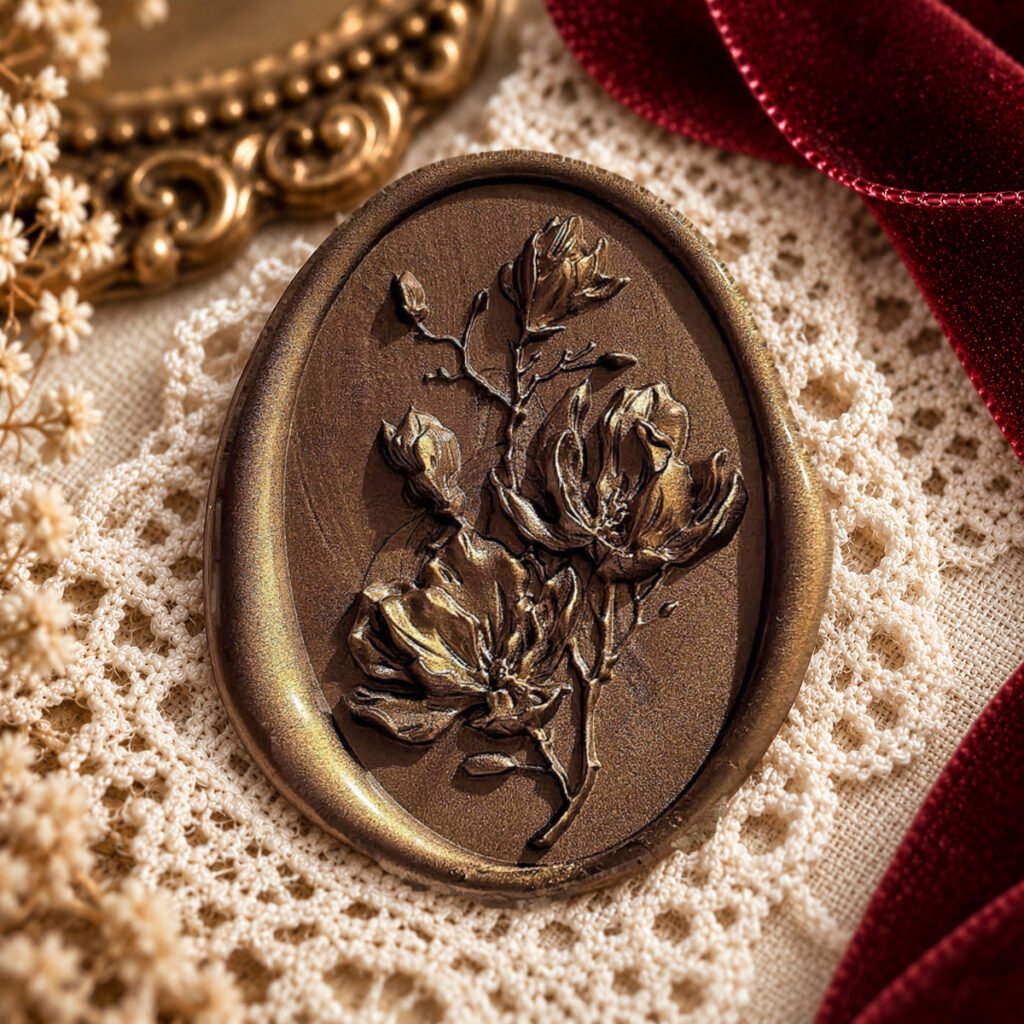
For a botanical direction, the Vintage Magnolia stamp offers a 30mm head. For a sewing-inspired or vintage stationery direction, a different motif may feel more personal. Make a paper mock-up at the listed head dimensions, then leave room for the wax border.
Count invitation sets, then add planned extras
Your guest count is not necessarily your envelope count. List households or mailing groups and note which will receive separate invitations. Add any keepsake copies, supplier copies, or extra sets you want to retain. Keep practice materials separate from that finished-piece total.
Write down the number of seals per suite. A project with a seal on both a band and an inner envelope requires a different total from one decorative seal per household. This sounds simple, but deciding it early avoids discovering a second use after supplies have been ordered.
Test the full combination
Use the actual paper, wax, ribbon, and attachment method. Check the sample in daylight as well as your usual work lighting. A low-contrast wax color may be beautiful while making fine relief less obvious; choose the balance you prefer rather than expecting every photo effect from a single pour.
- Can the recipient open the suite without tearing essential information?
- Does the seal fit without crowding names or printed details?
- Do the layers slide neatly into the outer envelope?
- Does the package retain its intended shape when handled?
- Has the finished mailing sample been assessed for the service you will use?
Product imagery is design inspiration, not a postal test. Colored impressions can involve additional finishing, and styled envelope composites do not show a real mailed result.
Estimate supplies from your trial
Measure the wax used for several satisfactory samples. Multiply that amount by your planned seal count and add an allowance for practice, rejects, and material left in the tool. Avoid using a bead count from another wax brand as a fixed specification.
For timing, complete a small realistic group from preparation through cleanup. Include interruptions, cooling, sorting, and attaching seals if that is part of your method. Use that experience to divide the work across manageable sessions, rather than scheduling every invitation for the night before mailing.
Create a simple assembly station
Separate unsealed pieces, cooling pieces, and finished pieces. Keep the address list away from hot tools. Set aside questionable impressions for review instead of letting them enter the completed stack. If someone helps, agree on what counts as a usable seal before dividing the work.
Photograph one approved sample for consistency. The aim is a coordinated set, not mechanically identical wax edges. Small differences in the border can be acceptable while crooked orientation, damaged paper, or missing details need attention.
Leave time for the journey
Choose your intended mailing date and work backward to allow for material delivery, practice, assembly, and a postal check. If supplies are coming from overseas, separate dispatch time from estimated transit time and leave room for delays. Do not treat a retailer’s delivery estimate as a guaranteed event-production deadline.
Finish by keeping one complete suite for yourselves. A well-planned seal should make the invitation feel considered while leaving the names, date, venue, and reply instructions easy to find.
Editorial note: Product images are Cirevora catalog illustrations, not photographs of a tested tutorial. Decorative coloring and styled backgrounds may be used; refer to the linked product listing for included items and photo details.