Wax Seal Gift-Wrapping Ideas for Sewing Lovers
Try five sewing-inspired gift-tag and wrapping ideas, with practical placement tips that keep wax decoration separate from delicate fabric and useful tools.
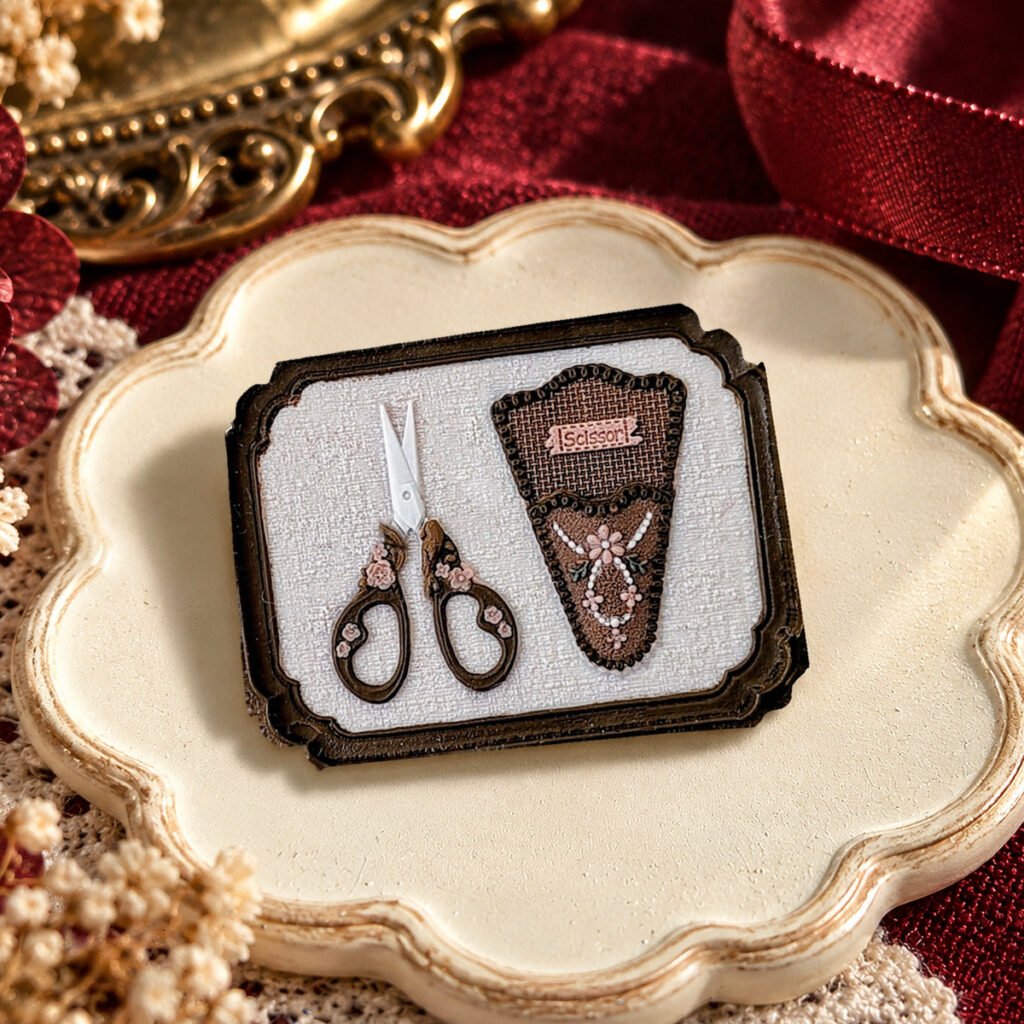
For a sewing enthusiast, a motif related to their craft can make a simple gift feel considered. Use a wax seal on a removable paper tag, card, or band so the recipient can keep the decoration without damaging the fabric or tools inside. Begin with one motif and a restrained palette.
1. A scissors motif on a tall gift tag
Pair cream card with a burgundy ribbon and the Floral Scissors stamp. Its 23 × 30mm head suggests a vertical composition: place the seal toward the lower end of the tag and leave a clear writing area above it.
Cut a paper outline first to check the proportions. Allow room for the wax edge and keep the hanging hole outside that footprint. Write the message before adding the seal so the raised decoration does not interfere with your pen or hand.
2. A paper band around a fabric bundle
Wrap a paper band around the outside of the packaging and decorate the band with a sewing motif. Keep the band removable. Rather than pouring hot wax directly onto valuable fabric, prepare and test the decorative element on paper away from the gift.
Check that any attachment method holds on the chosen paper without marking the contents. A spare piece of the same paper is useful for experimenting. An attractive photo arrangement is not evidence that heat or adhesive is suitable for every textile.
3. A sewing-machine note for a finished project
A small note can accompany a handmade pouch, garment, or repaired keepsake. The Floral Sewing Machine stamp makes the theme explicit without needing a long printed slogan. Put practical information, such as the maker’s care instructions, in readable text on the card.
Place the seal away from that information. Decorative detail should frame a useful note, not cover washing guidance or turn the card into something difficult to store. If the card will be kept inside a pouch, check that the raised seal does not catch on the lining.
4. A pattern-inspired wrapping label
Use your own simple ruled lines, a project name, and a handwritten date to create a label that echoes the organization of a sewing notebook. Finish one corner with a seal. Keep borrowed sewing patterns and copyrighted artwork out of the label unless you have permission to reproduce them.
This concept works especially well with plain wrapping paper: the label becomes the main point of interest. Repeat one color in the wax and ribbon instead of adding several competing decorative finishes.
5. A keepsake card inside the package
If the parcel needs to travel, keep the elaborate detail inside. Use plain protective outer packaging and place a wax-decorated card with the gift. This separates presentation from shipping, although the contents still need appropriate cushioning and the correct postal service.
For an in-person gift, the same idea can be a quiet reveal when the wrapping opens. Make the message specific to the recipient’s project or interest rather than filling the card with a generic sales phrase.
Keep the colors achievable
Some product photographs show wax impressions with contrasting decorative coloring. Those finishes require additional work and supplies; they are not created automatically by pressing the stamp into one pool of wax. A single-color impression is a complete design choice and often suits restrained wrapping.
Choose your actual wax before buying matching ribbon. Screen colors, lighting, and textures can change how a pairing looks. Compare small physical samples together before committing to a larger set of gifts.
What to prepare
Have the stamp and compatible handle, wax and suitable tools, spare card, and your chosen wrapping materials ready. The Cirevora stamp configurations do not include wax, finished seals, ribbon, envelopes, or coloring supplies. Treat these ideas as project suggestions, then build the version that suits the gift and the materials you already own.
Editorial note: Product images are Cirevora catalog illustrations, not photographs of a tested tutorial. Decorative coloring and styled backgrounds may be used; refer to the linked product listing for included items and photo details.