How to Clean and Store Your Wax Seal Stamp
Care for a wax seal stamp with gentle inspection, careful handling of residue, and dry storage that protects the engraved head and its matching handle.
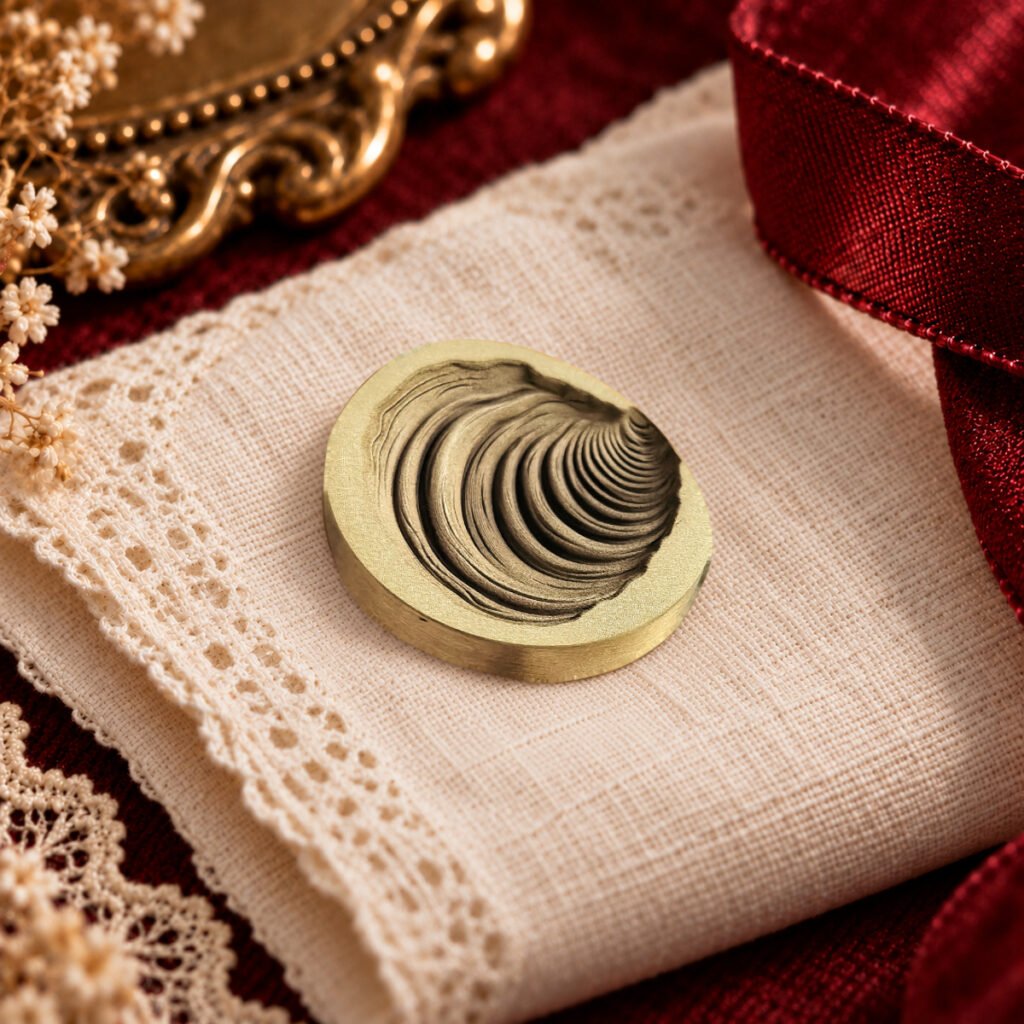
Let your wax seal stamp cool, remove loose dust gently, and store it dry with the engraved face protected from hard objects. If wax remains in the design, avoid digging it out with a sharp tool. Start with the maker’s care instructions before trying heat, chemicals, or polishing products.
After a sealing session
Set the stamp somewhere stable while it cools. Keep it away from the edge of the desk and from papers you are still arranging. Once safe to handle, inspect the engraved face under good light for fibers, loose particles, or wax that did not release.
For routine dust, begin with a clean, soft, dry cloth or a very soft brush used gently. Do not press debris into the recesses. A visible speck is a reason to inspect more closely, not to scrub harder. The fine engraved lines are the working part of the tool.
If wax is left in the design
Distinguish a loose piece from material caught firmly in a recess. Do not use a needle, blade, or metal pick to chase small fragments. If a gentle approach does not work, photograph the residue and ask the supplier for a method suited to the exact head and wax.
Artisaire’s care guidance for its own stamps describes using another impression to draw out stuck wax. That is a maker-specific technique, not a reason to experiment indefinitely with an unknown finish. Confirm suitable care for your Cirevora tool if residue persists.
Do not hold the head over a flame to burn away wax or soak the assembled handle and head in a cleaning solution. Without material and finish guidance, those methods add avoidable uncertainty. Cleaning a melting spoon is also a different task from cleaning an engraved stamp.
What about darkening metal?
A change in color is not always the same as dirt or wax buildup. Artisaire notes that its solid-brass tools can develop a patina. That explanation should not be used to identify every unknown metal or coating from a photograph.
For your own stamp, check the product’s material information and ask about any unexpected surface change. Avoid abrasive polishing simply to make the tool match an earlier image. The priority is preserving the working engraving and its finish.
Protect the handle and connection
Wipe a wooden handle gently with a dry cloth and keep it away from standing water. If the assembly is designed to separate, wait until it is cool before changing heads. Keep matching parts together and do not overtighten the fitting.
If the connection loosens during a project, stop using the tool until it is secure. A stable handle helps you position the head accurately. It should not depend on holding a loose assembly together while working over hot wax.
Store by design, not in a loose pile
Use individual compartments, soft pouches, or a clean box that prevents metal faces from knocking together. Let each part dry completely before putting it away. Keep wax separately so a sticky or damaged supply does not contaminate the engraving.
Label the compartment with the design and head dimensions. For example, the Vintage Clam Shell stamp is listed at 25mm. A small identification note is useful when several heads have similar backs or when an engraved motif is easier to recognize from its finished impression.
Before the next project
Check that the face is clear, the handle fits securely, and no residue has transferred from storage. Make one practice impression before using finished stationery. If that sample is clean, routine care has done its job; there is no need to polish or dismantle the tool before every use.
Editorial note: Product images are Cirevora catalog illustrations, not photographs of a tested tutorial. Decorative coloring and styled backgrounds may be used; refer to the linked product listing for included items and photo details.