Sealing Wax Beads vs. Sticks: Which Should You Choose?
Compare sealing wax beads, glue-gun sticks and wick sticks. Learn which format suits color changes, small projects and matching batches, plus what to check.
Choose sealing wax beads for small projects with frequent color changes; choose glue-gun sealing wax sticks for repeated seals in one color, provided the wax and gun are compatible. A stick with a wick is a different format again. Start with the way you want to work, then check the wax maker’s instructions before buying equipment.
Imagine two projects: three personal letters, each with a different color, and a stack of matching invitation envelopes. The first calls for flexibility; the second benefits from a repeatable routine. Neither format automatically makes a more beautiful impression.
First, identify which kind of stick you mean
“Wax stick” can mean a stick made for a sealing-wax gun, a stick with its own wick, or a wickless stick intended for another melting method. These are not interchangeable equipment instructions. LetterSeals’ guide to sealing-wax methods separates these formats and explains spoon melting for beads and suitable pieces of wickless wax.
Before ordering, write down the exact wax format, the recommended melting method and the equipment you already own. If the listing is unclear, ask the supplier. A familiar shape is not enough to establish compatibility.
When beads fit the project
Beads are portioned into a suitable melting spoon or melter, then poured before stamping. They are a useful starting point when you want to try several colors without committing an entire gun to each one. Keep each color trial separate if your aim is to compare clean, single-color impressions.
For a small stationery session, prepare labeled paper samples first: one for a pale color, one for a dark color and one for your final choice. Record the wax quantity and stamp used beside each finished sample. This turns experimentation into a decision you can repeat later.
Do not assume that every bead is the same size or that one bead count suits all stamp heads. Our guide to wax quantity per seal explains how to establish a useful amount with your own materials.
When glue-gun sticks fit the project
For a run of matching seals, a compatible wax gun lets you dispense without melting a separate spoonful for every impression. Check stick diameter, the gun’s temperature specification and its power requirements. Artisaire, for example, specifies a full-size, low-temperature gun for its sealing-wax system; this is a product-specific instruction, not approval for every craft gun or wax.
Color changes need planning. LetterSeals explains that wax remaining inside a gun mixes with the next color. Consider completing one color group before starting another. If exact color separation matters, a dedicated gun for a frequently used color may be more practical than repeatedly changing colors.
For your project notes, count finished, acceptable seals rather than simply counting trigger pulls. Include practice pieces when planning supplies, and test a small batch before committing your final stationery.
What about sticks with a wick?
A wick stick supplies its own flame and can suit an occasional letter, but it introduces a different handling routine. LetterSeals notes that this method can be slower for large projects and that soot may enter the wax. Choose it because you prefer that process, rather than assuming it is the same as a gun-fed stick.
Whichever method you choose, use a stable, heat-resistant work area and follow the maker’s heating instructions. Keep hands clear of hot wax and equipment, and never leave a flame or heated tool unattended.
Match the wax workflow to your stamp
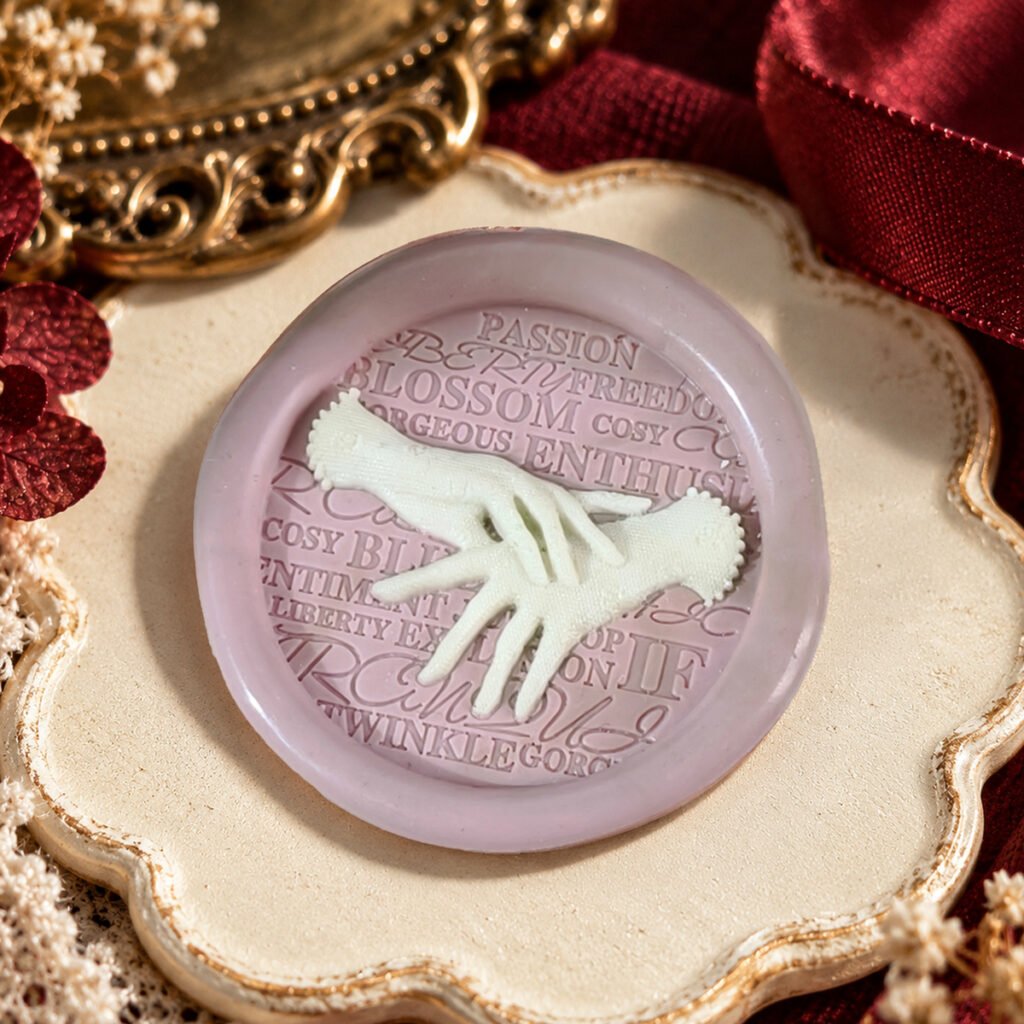
Choose the motif and head size separately from the wax format. Cirevora’s Lace Gloves Wax Seal Stamp has a round 25mm head, with head-only and head-with-one-wooden-handle options. Wax, heating tools and coloring supplies are not included. Its colored impression photographs show an added decorative finish, not a result produced by one plain wax pour.
For a first session, keep the experiment simple: one stamp, one paper and one wax color. Follow our beginner’s stamping guide, then change one variable at a time. Once you like the result, note the supplies and method you used.
A quick buying checklist
- Several colors, a few seals: start by comparing bead-and-spoon options.
- One color, a matching batch: compare compatible wax sticks and guns.
- An occasional letter and a flame-based process: consider wick wax with appropriate precautions.
- Any format: verify the actual formulation, equipment instructions and sample result. Shape alone does not establish flexibility or suitability for mailing.
The best choice is the one that fits your supplies and the next project you actually plan to make. Start small, keep one good sample and use it as your reference.
[…] working method before buying a replacement tool. If you are also changing formats, read our beads versus sticks guide. For inconsistent coverage, start with wax quantity as a separate […]