How to Center a Wax Seal on an Envelope
Learn how to center a wax seal on an envelope, check the design's direction, and keep a batch consistent with a simple paper guide and a sample first.
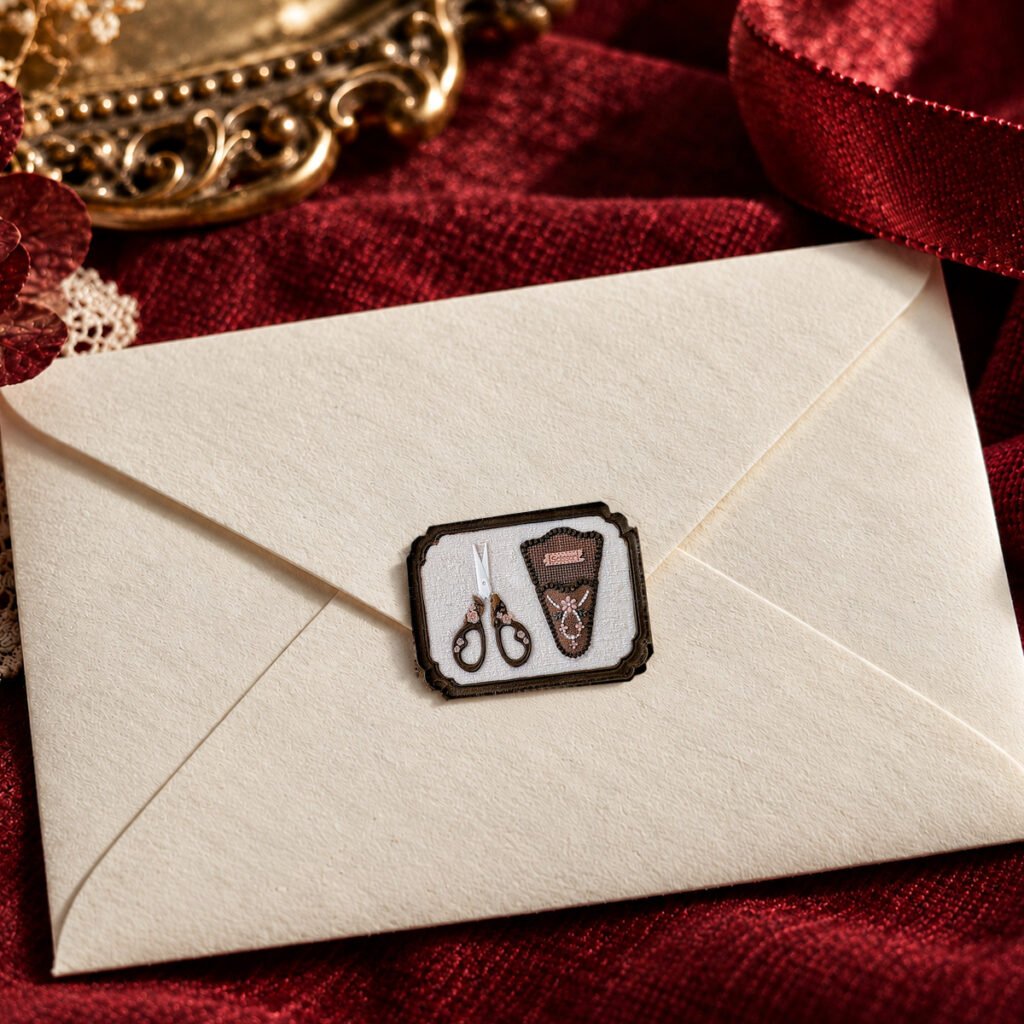
To center a wax seal, choose the position on the closed envelope before heating any wax. Use a paper guide to locate the midpoint, test the stamp’s orientation on spare paper, and lower it straight into a small, controlled pool. Check the first finished envelope before repeating the layout across a batch.
Decide what you want to center
There are three separate alignment decisions: the seal’s position on the envelope, the engraved design’s position within the wax, and the direction the motif faces. A straight-looking design can still sit too far to one side. Likewise, a correctly placed seal can look uneven when most of its wax border spreads in one direction.
For a classic arrangement, use the envelope’s left and right edges as your horizontal reference and place the seal near the closed flap’s tip. A decorative flap may not be perfectly symmetrical, so compare that measured position with the overall appearance before committing. An intentionally offset design is another option; consistency matters more than forcing every envelope shape into the same arrangement.
Make a guide without marking your stationery
- Prepare a spare envelope. Use the same size, paper, and contents as the finished piece. Place it on a level, heat-resistant work surface.
- Find the midpoint. Cut a strip of scrap paper to the envelope’s width and fold that strip in half. The fold identifies the center without creasing the envelope.
- Choose the height. Rest the cool stamp head near the intended position and check whether it overlaps the flap attractively. Leave room for the wax outside the head.
- Record the arrangement. On a separate sheet beneath the envelope, mark its corners and the intended seal centerline. Remove loose guide pieces from the hot-wax area before pouring.
For multiple envelopes, return each one to those corner marks. Keep the same flap position and contents. A thick invitation stack can change how flat the back lies, so an empty envelope alone is not a sufficient trial for a finished suite.
Set the motif’s direction before pouring
Look at a test impression to establish which way the finished design faces. Do not rely solely on the appearance of the engraved face, particularly when it contains lettering. Hold the stamp in that orientation during a dry practice movement: hover over your chosen point, lower it vertically, and lift it again.
If your handle has no useful orientation reference, a removable paper band around a cool handle can serve as a temporary guide. Test that it stays secure and does not leave residue. Keep any marker away from the engraved face and hot wax. This is a suggested organizing method, not a required part of the stamp.
Pour, press, and let the impression release
Follow the instructions for your particular sealing wax and melting equipment. Practice with a measured amount rather than adding extra wax simply to make centering easier. The stamp head’s stated dimensions describe the tool, while the finished wax border depends on the amount and distribution of wax. Our wax quantity guide explains how to establish a starting sample.
Pour at your chosen position, then lower the correctly oriented stamp without sweeping it sideways. Keep it steady while the wax sets. LetterSeals’ instructions for different sealing waxes recommend experimenting with waiting time for local conditions and allowing sticking wax to cool before lifting. Avoid treating one fixed number of seconds as suitable for every wax and room.
Lift vertically once the stamp releases. If the result sticks or stretches, pause before making the next envelope; see the stamp release troubleshooting guide. Trying to slide an already impressed seal into place can spoil the border or the paper.
Read the result before changing the setup
- The whole seal is off-center: recheck the envelope guide and pouring position.
- The design is tilted: adjust the stamp’s orientation before the next pour.
- One wax border is much wider: check the work surface, pool position, and whether the stamp entered vertically.
- The seal overwhelms the flap: compare a smaller head or a different placement using paper cutouts first.
Use our stamp size guide alongside the listed dimensions in the wax seal stamp collection. Compare the actual shape as well as its widest measurement; a tall motif and a round one can occupy a flap differently.
Check the envelope as a complete piece
For posted letters, secure the envelope with its normal closure before adding the decoration. Artisaire also emphasizes closing envelopes before applying seals in its mailing guidance. Before preparing a large batch, check a complete sample with your postal provider and review our mailing checklist. A neatly centered impression is a design result, not a guarantee of postal handling or delivery condition.
Image note: The featured image is a Cirevora catalog composite showing the 23 × 30mm Floral Scissors stamp design on an envelope, not a photographed tutorial test. Decorative coloring is an additional finish; wax, finished seals, envelopes and props are not included with the stamp.
[…] If one edge is thin, do not assume the head shape is unsuitable. Placement, the wax portion, and an uneven surface are variables worth checking. For positioning a design on a flap, use the separate guide to centering a wax seal. […]