Round or Rectangular Wax Seals: How to Choose
Compare round and shaped rectangular wax seals for envelopes and gift tags. Check the motif, head measurements, wax border, and orientation before choosing.
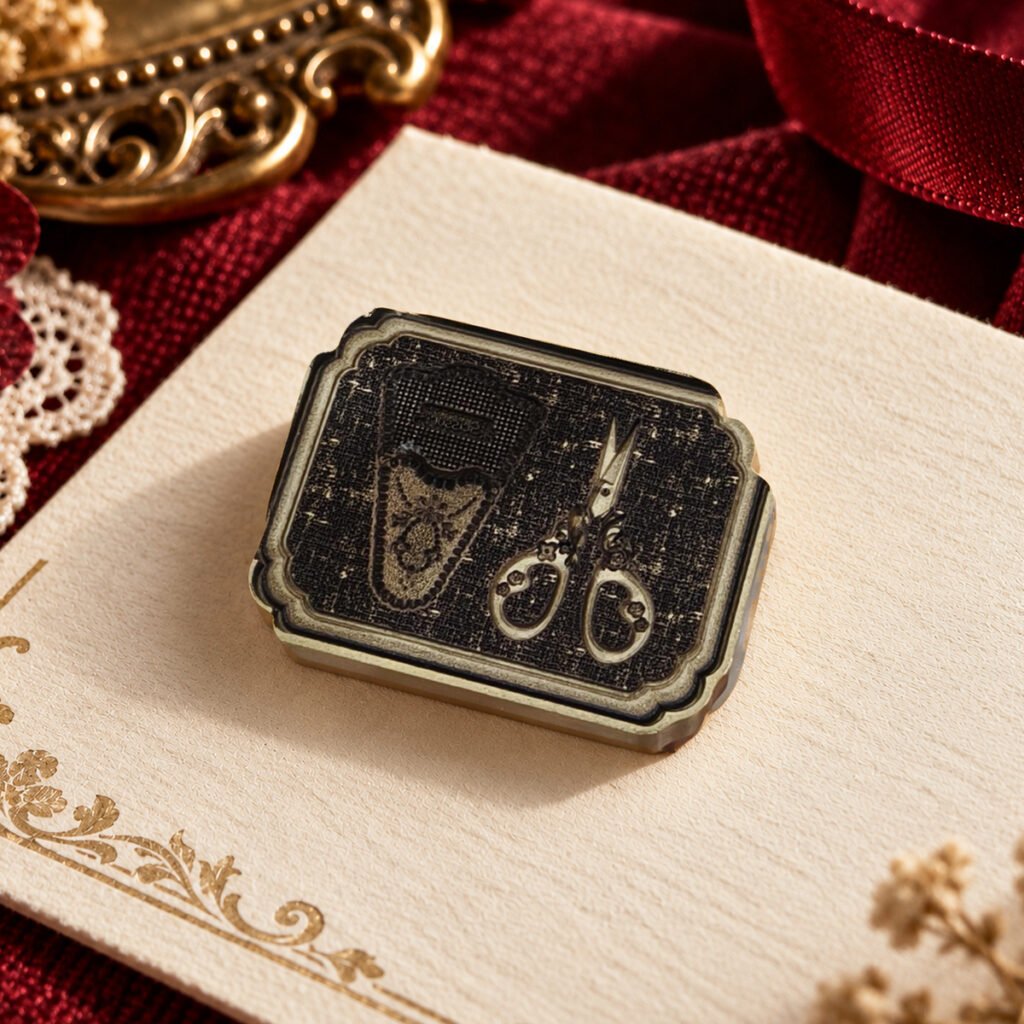
Choose a round wax seal when you want a compact focal point; choose a rectangular or shaped rectangular seal when a framed composition suits the space. Neither shape is automatically easier to use or better for mailing. Start with the design, the available room, and the direction the motif needs to face, then make a sample before committing to a batch.
The important distinction is between the stamp head and the finished wax outline. A round head can leave an irregular wax rim. A rectangular head does not cut the wax into a perfect rectangle. The surrounding edge depends on how the wax spreads, so plan for more than the listed head dimensions.
Start with the space on your stationery
Look at the actual envelope flap or gift tag before comparing product photographs. Identify the usable area after allowing for writing, folds, punched holes, and ribbon. A design that looks small on a screen may crowd a narrow tag; one that looks generous in a close-up may feel restrained on a large envelope.
For a quick composition check, cut plain paper to the head measurements. Set it on the stationery, then place a slightly larger piece behind it to imagine a wax border. This is a layout aid, not a prediction of the final seal. Move the paper around until the decoration has breathing room and the message remains readable.
When a round composition works well
A circle gives you the same overall head width in every direction. That can make it a useful starting point for a small focal detail on a flap or a tag. It also provides a clear center around which to arrange the rest of the stationery.
Cirevora’s Lace Gloves wax seal stamp has a 25mm round head with overlapping gloves and decorative lettering. The circular boundary does not make the artwork directionless: the gloves and lettering still have a top and bottom. Check their orientation in a practice impression before stamping the final piece.
When a shaped rectangle works well
A rectangular composition introduces a longer axis. As a design choice, that can echo an elongated tag or make a small motif feel like a framed illustration. Look at the artwork as well as the outline: rotating a frame may change the way its contents read.
The Floral Scissors wax seal stamp uses a shaped rectangular head measuring 23 × 30mm. Its scissors and sheath sit inside an ornamental frame. Use both measurements when checking the fit; “30mm” alone would leave out an important part of the footprint.
Those measurements describe different shapes, so comparing only their largest numbers is not a useful test of how much room they need. The wax seal size guide explains how to compare head dimensions with space for the finished edge.
Test the outline and orientation together
- Choose an offcut of the same paper you plan to use, on a suitable protected work surface.
- Follow the wax supplier’s instructions for your wax and equipment. Keep the preparation consistent while comparing impressions.
- Check the motif’s direction before lowering the stamp. Keep the head level and avoid rocking it to force wax toward a corner.
- Allow the wax to set according to your materials and conditions before lifting the stamp.
- Inspect the entire border, the clarity of the motif, and the actual space the finished seal occupies. Adjust one variable at a time.
If one edge is thin, do not assume the head shape is unsuitable. Placement, the wax portion, and an uneven surface are variables worth checking. For positioning a design on a flap, use the separate guide to centering a wax seal.
Keep the purchase and mailing checks separate
Both examples offer a metal-head-only option and a head-with-one-wooden-handle option. Wax, finished seals, envelopes, coloring supplies, and decorative props are separate. Colored catalog impressions show additional decorative coloring; one pour of a single wax color does not reproduce those multicolored finishes.
For mailed stationery, assess the whole assembled envelope rather than choosing a shape as a shortcut to postal approval. The seal is just one part of the finished mailpiece. A physical sample is the best starting point for a discussion with your postal operator.
Your choice can stay simple: pick the motif you want to share, check both dimensions against the available space, and confirm the result with a sample. A pleasing composition should leave room for the letter or gift to remain the main event.
Image note: The featured image is a Cirevora catalog image of a stamp head, not a photograph of the sample-making steps above. General preparation reference: LetterSeals’ sealing-wax instructions.