Why Does My Wax Seal Have Bubbles?
Troubleshoot bubbles in wax seals by checking heat, timing, and release. Use a simple comparison to find what changes your results before sealing a batch.
Too much heat is a useful first suspect when a wax seal develops bubbles. Start by checking the heating method and whether the wax has been sitting hot between impressions. Then make a small comparison batch on spare paper. Bubbles alone do not prove that your stamp is faulty, and a photograph cannot reveal every cause.
Notice when the bubbles appear
Watch one practice seal from melting through release. Are bubbles visible in the spoon or at the nozzle, after pouring, or only in the finished impression? Keep those observations separate. A rough patch, a torn detail, and a round pit may look similar at first glance but call for different checks.
Take a photograph of the cooled sample under the same light each time. Circle the area you want to improve: the center, the border, or a particular engraved detail. That gives the next attempt a clear purpose instead of turning every imperfect edge into a reason to replace your supplies.
If you use a sealing wax gun
Check that the gun and sticks are intended to work together and use the temperature setting recommended by the wax maker. In its bubble-prevention guide, Written Word Calligraphy identifies excessive heat as a cause and notes that even a low-temperature gun can overheat wax during a slow session. Its advice supports checking both the setting and how long the gun stays hot.
Follow the equipment instructions for pausing and restarting. Do not adopt another maker’s exact heating schedule as a universal rule for your own gun. Compare a sample made after a normal warm-up with one made later in the session, noting any change in the wax as it comes out.
If you melt beads in a spoon
Use the instructions for your particular sealing wax. LetterSeals describes a spoon-and-bead method; in its bead guidance, it also warns that excessive heating can make its wax thin and runny. More time over the heat is not automatically better.
Keep the spoon, wax quantity, paper, and stamp the same for the comparison. Change only the heating routine, within the supplier’s guidance. Stop heating once the wax reaches the recommended workable condition rather than deliberately bringing it to a bubbling state. Keep your hands clear of molten wax and follow the tool’s safe handling instructions.
Run a simple comparison
- Label two spare pieces of paper. Keep finished envelopes out of the trial.
- Write down your starting setup. Include the wax type, tool setting, and whether this was the first seal or a later one.
- Choose one adjustment. For example, test the maker’s recommended cooling pause instead of leaving the gun heating throughout a break.
- Compare after both seals have set. Look for fewer pits in the same area, not merely a different border shape.
- Repeat before starting the batch. Keep the useful sample beside your materials as a reference.
A short note such as “same wax and stamp; bubbles appeared only after the long pause” is more useful than recording “bad wax.” If changing several things produces a better seal, you still will not know which change helped.
Check release separately
If the surface looks damaged when you lift the stamp, review the release stage too. Artisaire’s sticking guidance recommends cooling the stamp between uses. Follow your own maker’s method and keep the engraving clean and dry. Our sticking troubleshooting guide explains how to separate a release problem from other faults.
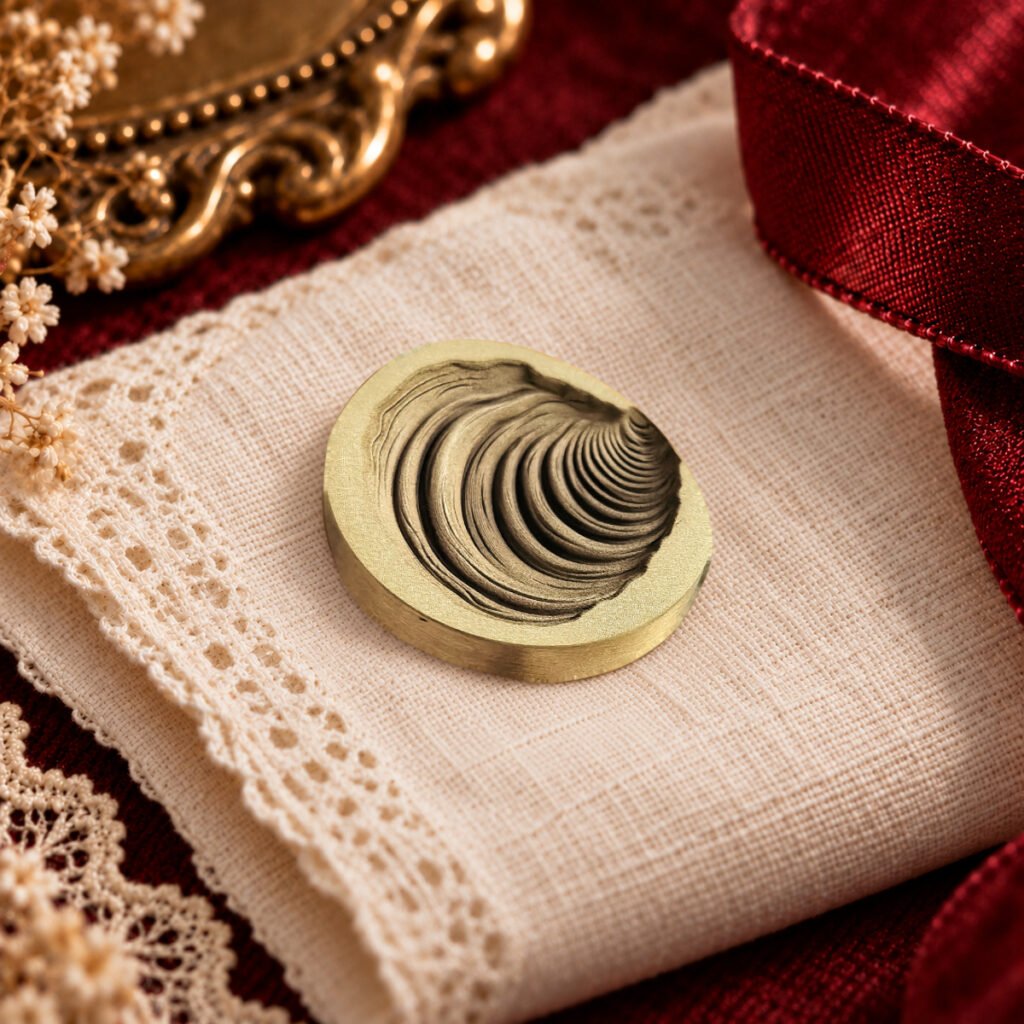
For a detailed motif such as the 25mm Vintage Clam Shell stamp, compare the shell’s curved lines with the outer wax border. The listed dimension describes the metal head; the finished wax edge depends on the pour. Wax and decorative props are separate from the stamp configurations.
When the problem persists
Send the wax supplier photographs of the cooled samples and your brief setup notes. Ask about compatibility and the recommended working method before buying a replacement tool. If you are also changing formats, read our beads versus sticks guide. For inconsistent coverage, start with wax quantity as a separate test.
Image note: The featured image is a styled Cirevora catalog image of the stamp head, not a photograph of this troubleshooting test.